Game Accessibility Settings: Build a Setup Around Your Own Requirements
Accessibility is not one switch and does not mean the same combination of features for every player. A useful setup begins with the particular tasks you want to make easier: reading dialogue, separating sound cues, holding a button or following a moving camera. This October 18, 2026 guide provides an individual requirements worksheet rather than certifying a game as accessible to everyone. Store tags and published features help narrow choices, but they need checking against the actual platform, version and player.
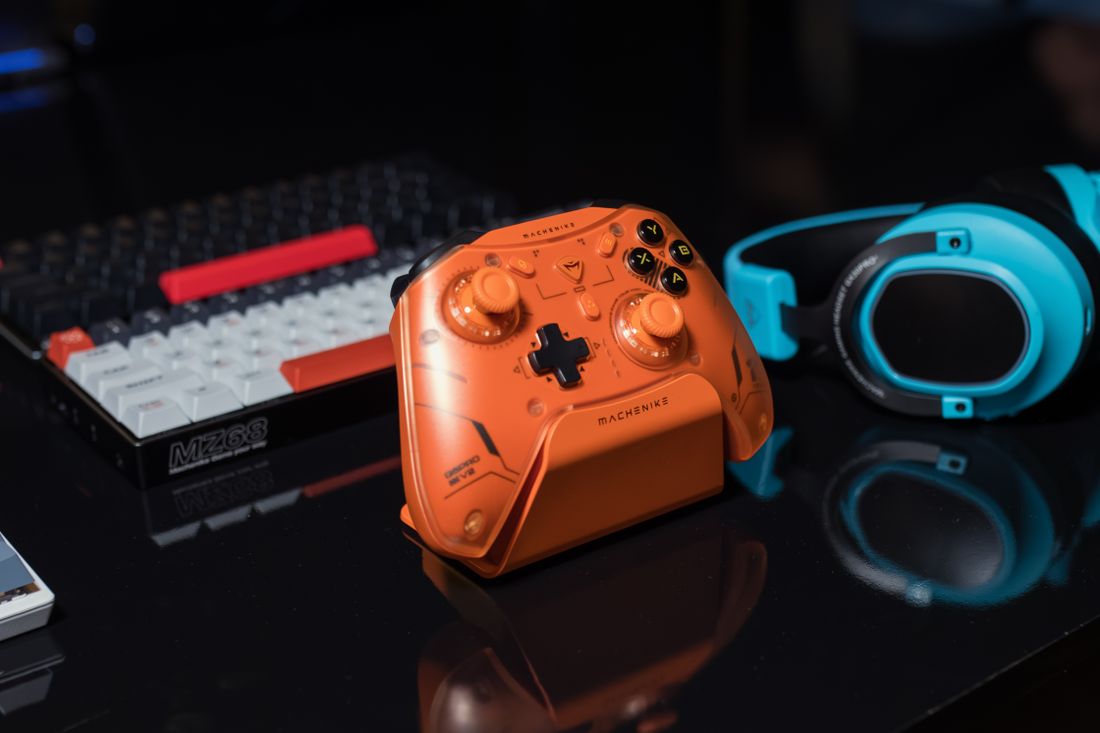
Photo: Matheus Bertelli · License. Illustrative stock photography.
Translate a need into a testable requirement
Replace a broad statement such as needs accessible controls with a description of the task: every essential action must work without a rapid repeated press, for example. Other requirements might include text readable from the sofa, independent dialogue volume or a way to pause during play. Ask the player which barriers matter and whether they want assistance. Do not assume a diagnosis determines preferences or that another person's successful settings will transfer. Rank requirements as essential, helpful and optional so you can make a clear decision when a game offers some features but not others.
Use store tags to narrow the search
Steam offers accessibility filters, while Microsoft documents feature tags that publishers can use to describe game options. These tools are useful for finding candidates with relevant features, but a tag should lead to closer inspection rather than a universal guarantee. Check which platform and version the feature information describes. A broad subtitle option may still leave questions about speaker labels, size or background contrast. If an essential detail is absent, consult the developer's accessibility information or support channel before making a purchase.
Check text, color and sound together
Start with menu and dialogue text at the normal viewing distance. Investigate font scaling, contrast backgrounds and caption options if offered. For color-coded information, look for labels, shapes or other alternatives rather than assuming a color filter changes every interface element. Listen for dialogue, effects and music separately and adjust their controls where available. If important cues depend on sound, look for visual or other supported alternatives. Test during ordinary gameplay as well as the menu because a readable setup screen does not establish that every gameplay message is equally clear.
Make input less demanding where the game allows it
Inspect remapping, hold-versus-toggle controls, repeated-press alternatives, timing adjustments and sensitivity. Change one item at a time and try the essential action it affects. A toggle can reduce sustained pressure in one situation but create confusion in another, so confirm what state the game indicates. Check whether remapped controls are reflected accurately in prompts. If an adaptive device or assistance feature is part of the setup, verify its platform compatibility separately. You should not have to assume that an external controller compensates for every inaccessible software interaction.
Review camera movement, timing and saving
Look for controls over camera shake, motion blur, field of view, automatic camera behavior and turning where applicable. These options vary, and a preferred combination is personal rather than universally correct. Check whether the game can be paused, whether cutscenes can be reviewed, and how progress is saved before starting a long session. An easier combat setting may not address a timed menu or a rapidly disappearing instruction. Test the actual barrier you identified, and stop a trial that feels uncomfortable rather than treating the settings process as a test of persistence.
Save a useful profile and revisit after updates
Once the arrangement works, record the platform, game version and essential settings in a short note or screenshots without exposing account details. If a setting does not solve the problem, describe the specific task and behavior when asking the developer for help. Avoid presenting an unmet need as user error. Recheck important controls after a major update or when moving to a different device. In shared play, ask before changing someone else's profile. The useful end point is a comfortable, workable session for the person playing, including a decision to choose a different game when necessary.
Your working checklist
Checkmarks stay in this browser when storage is available. They do not submit a form or complete a booking.
Put it into practice
- Describe barriers as specific tasks and rank the requirements with the player's input.
- Use feature tags to find candidates, then verify details for the intended game version and platform.
- Adjust text, audio, input and camera options individually while checking the affected action.
- Save the successful setup and send precise unresolved questions to official support when needed.
Before you finish
- The player defines the requirements and acceptable assistance.
- Store tags are followed by game-specific feature checking.
- Text and cues work during gameplay as well as menus.
- Essential inputs are possible without unwanted timing or pressure demands.
- Pause, save and comfortable exit options are understood.
Common questions
Does an accessibility tag mean anyone can play?
No. It describes a feature, which may or may not address a particular player's requirements. Confirm the relevant details rather than treating the label as certification.
Is lowering difficulty the same as improving accessibility?
Difficulty is one possible option. Readability, sound information, input and timing can be separate barriers that need their own settings or a different game.
Should I copy another player's configuration?
It can be a useful starting example if they share it willingly, but test your own essential tasks and preferences. A successful setup is individual.